A wifi LED controller is the brain of an LED strip. It sits between the power supply and the strip, takes commands from an app, a remote or a voice assistant, and tells the LEDs what color and brightness to be. Swap the basic infrared box that came with an old strip for a Wi-Fi model, and that strip gains schedules, scenes and voice control without replacing a single meter of tape.
This guide covers the types of controllers, how to match one to your strip, how to wire and pair it, and how to fix the problems people run into most.
What a Wi-Fi LED controller does
LED strips don't have any intelligence of their own. Each color channel (red, green, blue and sometimes white) is switched on and off very fast by the controller, and the ratio of on to off sets the brightness of that channel. Mix the channels and you get any color you want. A smart wireless LED controller adds a radio and firmware on top, so that mixing can be driven by your phone, a schedule, music or a voice command.
Most strips sold as "smart" are simply a regular strip with a Wi-Fi controller already attached. See the smart LED strip lights guide for the strip side of the system.
Types of controllers
Single color dimmers
Two wires, one channel. They dim a white strip and switch it on a schedule. Great for under-cabinet lights.
RGB controllers
The classic RGB controller has four pins: a shared positive and one each for red, green and blue. It fits the common color-changing strip.
RGBW and RGBCCT controllers
Five- or six-pin controllers add channels for white chips, so you get proper warm and cool whites alongside color.
Addressable controllers
Addressable (pixel) strips have a data wire instead of separate color channels, usually three pins. They need a controller that speaks the strip's chip protocol, and in return you get chasing effects and gradients.
How to match a controller to your strip
The table above lists what to check. In practice, match these in order:
- Pin count and strip type. Count the pads or wires at the strip's end and look at the labels (+, R, G, B, W, or +, DATA, GND).
- Voltage. The controller must accept the same voltage as the strip and the power supply.
- Current. Add up the strip's draw and keep it comfortably below the controller's rated amps per channel.
- Connector. Many strips use a plug-in connector; if yours doesn't match, solderless adapters or screw terminals bridge the gap.
Not sure how much current a run draws? The calculator below takes length, voltage and watts per meter and gives you the power supply size and current, which also tells you what the controller needs to handle.
LED strip length and power supply calculator
Size the power supply, find the cut interval and see whether a long run needs power injection.
Each block in the preview is one powered section. Always check the watts-per-meter on your strip's label; it varies by brand.
Wiring and pairing, step by step
Unplug everything
Disconnect the power supply from the wall before touching any connection.
Connect the strip
Line up the arrow or + marking on the connector with the + pad on the strip. Reversing it is the most common reason nothing lights.
Connect the power supply
Plug the supply's barrel jack or wires into the controller's input, observing polarity.
Pair the controller
Power on, open the controller's app, and add the device on your 2.4 GHz Wi-Fi. Name it after the room or spot.
Link your voice assistant
Enable the app's skill or link in the Alexa or Google Home app. Full walkthrough: how to connect Alexa to LED lights.
Using a WiFi LED controller with Alexa and Google Home
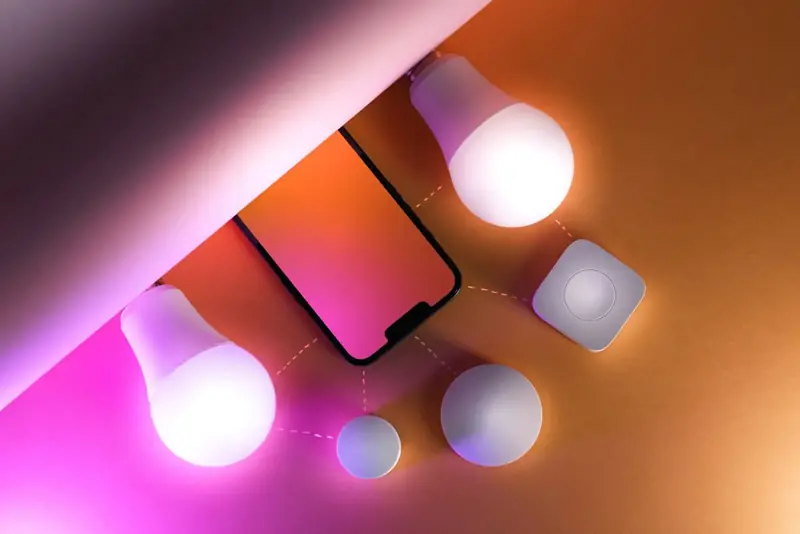
Once linked, an LED controller with Alexa or Google Home support works like any other smart light. You can say "set the desk light to blue" or "dim the bedroom strip to 20 percent," add it to room groups, and include it in routines such as sunset-on or a bedtime dim. A wifi LED controller with Google Home and Alexa support can usually be linked to both, and controllers that support Matter can be shared across ecosystems directly.
Music sync is usually handled by the controller's own app or a built-in microphone, not by the voice assistant.
Troubleshooting
- Colors swapped: red shows as green? Most apps have a channel order setting (RGB, GRB, BRG); change it rather than rewiring.
- Won't connect: make sure your phone is on 2.4 GHz during setup, reset the controller and try closer to the router.
- Strip flickers: check the connector is fully seated and that the power supply is big enough.
- Far end looks dim or yellowish: the run is too long for the voltage; add power at the far end.
- Only part of an addressable strip lights: set the correct LED count and chip type in the app, and check the data arrow points away from the controller.
For cutting, joining and corners, read how to cut and connect LED strip lights.
Safety and placement
Place the controller where its signal can reach the router: inside a metal channel or behind a TV can block Wi-Fi.
Where to go from here
If you're starting from scratch, a ready-made smart strip may be simpler. For lamps, look at smart LED light bulbs. And for planning a run, the light tools page has the strip calculator and color picker in one place.