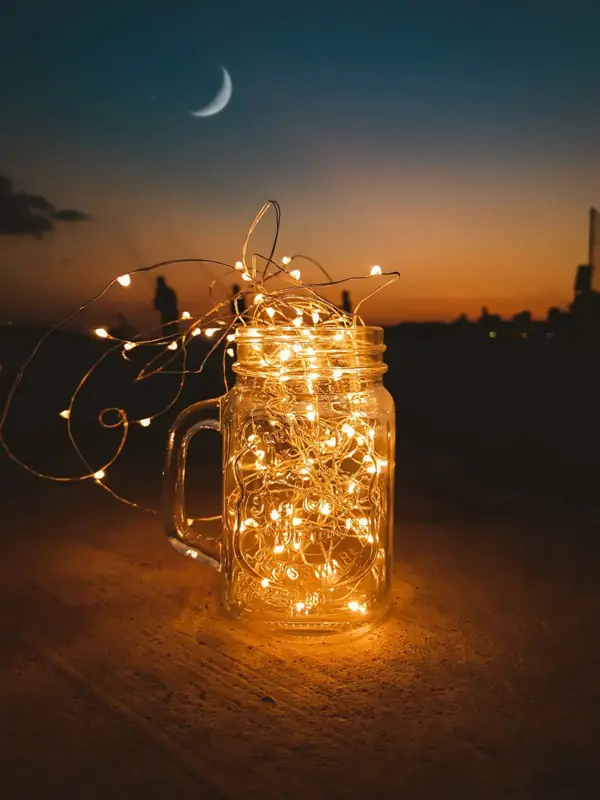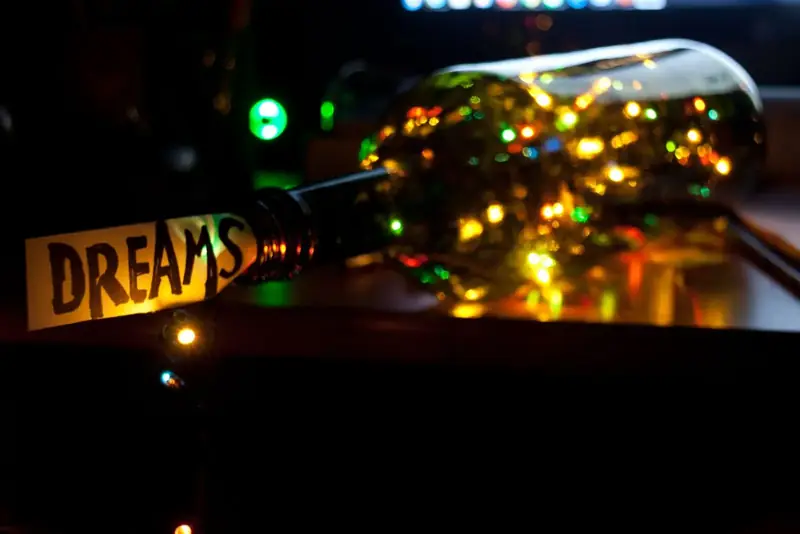
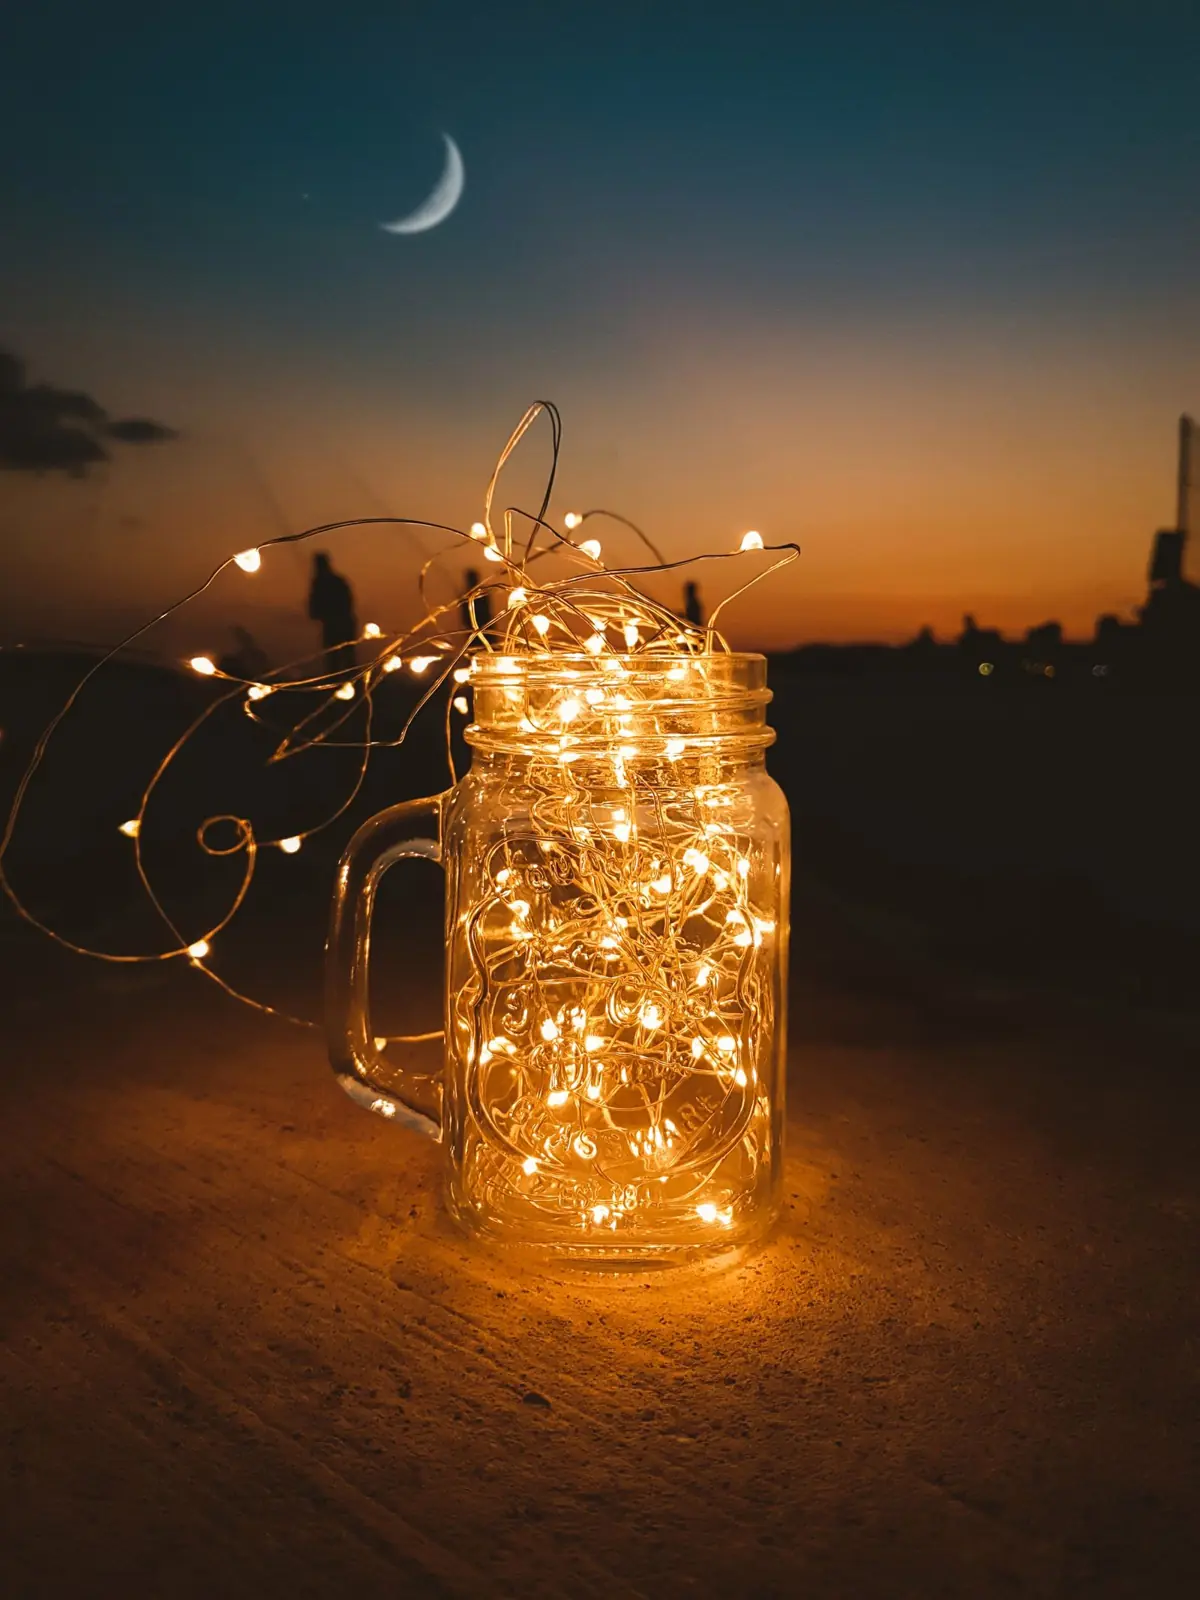
Mason jar fairy lights are the gateway project of DIY lighting. You need one jar, one strand of micro LEDs and about five minutes, and the result looks like you caught a handful of fireflies. They work as a nightlight, a table centerpiece, a porch lantern or a last-minute gift.
The trick is not getting the lights into the jar. Anyone can do that. The trick is making the glow look even instead of clumpy, keeping the battery pack out of sight and choosing a strand that will actually last the evening. That is what this guide covers, plus seven variations.
What you need for DIY mason jar fairy lights
The only thing worth buying carefully is the light strand.
- A clean glass jar: a 16 oz (pint) or 32 oz (quart) mason jar is ideal, but any jar with a wide mouth works
- One strand of battery-powered micro LED fairy lights, about 6–10 ft (2–3 m) long with 20–30 bulbs for a pint jar, or 10–16 ft (3–5 m) with 50+ bulbs for a quart jar
- Fresh batteries for the pack (usually 2×AA, 3×AA or 2×CR2032 coin cells)
- Optional diffuser: a sheet of tissue paper, a coffee filter, frosted window film or a spray of glass frosting
- Optional filler: clear glass marbles, sea glass, pine cones, faux moss or dried flowers
- Optional: double-sided foam tape or a small piece of hook-and-loop tape for the battery pack
Choose copper or silver wire strands rather than thick PVC cable. Thin wire is stiff enough to hold a loose spiral shape and nearly invisible once it glows. Our guide to battery operated fairy lights explains how to compare strands, bulb spacing and timer modes.
How to put fairy lights in a jar: the 5-minute method
Here is the method that gives the most even glow with the least fiddling. Test the strand with fresh batteries before you start, so you are not troubleshooting with everything already inside the glass.
Clean and dry the jar
Wash off labels and fingerprints and let the jar dry completely. Any moisture trapped inside will fog the glass the first time the lights warm it slightly.
Loosen the strand
Unwind the lights fully and give the wire a gentle scrunch along its length. A slightly crinkled wire fills space on its own instead of lying flat against the bottom.
Feed from the far end
Start with the tip of the strand, the end farthest from the battery pack. Drop it in and let the first foot coil loosely on the bottom.
Spiral, do not stuff
Feed the rest in loose loops, turning the jar as you go so the wire spreads around the walls rather than collecting in the middle. Use a chopstick or pencil to nudge bulbs toward any dark gaps.
Park the battery pack
Leave the last few inches of plain lead wire and the pack outside the jar, or hide the pack using one of the tricks below. Switch it on, check the glow from across the room, adjust and screw on the lid.
If you want the soft, glowing-orb look that photographs so well, add a diffuser: line the inside of the jar with a single sheet of tissue paper before you add the lights, or wrap a coffee filter around the outside and tie it with twine.
How to hide a fairy light battery pack
The battery pack is the one ugly part of a fairy light jar craft. Here are the options, from easiest to neatest.
Inside the jar, under filler
Set the pack in the bottom of the jar, switch side up, and cover it with glass marbles, moss or a folded napkin. This is the easiest method for a centerpiece. The downside is that you have to dig it out to switch it off, so choose a strand with a built-in timer.
Taped under the lid
Stick the pack to the underside of the lid with double-sided foam tape or hook-and-loop tape, then let the strand hang down into the jar. The lights glow from the top down, which looks lovely in a hanging lantern. Unscrew the lid to reach the switch.
On top of the lid, disguised
Run the lead wire out through a small gap under the lid band, rest the pack on top and cover it with a fabric circle, a burlap bow, a silk flower or a ring of faux greenery. Hot-glue the decoration to the band, not to the pack, so you can still change batteries.
Through the lid
For a permanent lamp, drill a 1/4 in (6 mm) hole in a two-piece lid, file the edge smooth, and pass the wire through. A drop of hot glue or a rubber grommet stops the edge from rubbing the insulation. The pack then sits behind the jar on a shelf, out of view.
How long will your fairy lights in a jar last?
Battery life depends on the battery type, the number of LEDs and the mode you use. As a rough guide, two alkaline AA cells hold roughly 2,000–2,500 mAh, and a typical 30-LED micro strand on steady mode might run somewhere in the 20–50 hour range. Coin cells hold far less. Flash and fade modes tend to stretch runtime, and a 6-hour on, 18-hour off timer turns one set of batteries into a couple of weeks of evenings.
Rather than guess, plug your own strand into the battery-life calculator below. Enter the battery type, LED count and hours per night to see a realistic estimate.
Fairy light battery life calculator
Estimate how long a battery-operated string will glow. Move the sliders and watch the lights.
Estimate based on about 0.75 mA per micro LED at full brightness and 85% usable capacity. Cold weather and cheap cells shorten runtime.
If you light jars often, rechargeable NiMH AAs are worth it. They run at a slightly lower voltage, so the lights can look a touch dimmer, but they pay for themselves quickly. We go deeper in how long do battery fairy lights last.
Mason jar fairy lights ideas: 7 variations
Once you have the basic jar down, these variations take only a few extra minutes each.
1. Solar mason jar fairy lights
Swap the battery pack for a solar lid. Solar lantern lids sized for regular-mouth jars are widely available, or you can mount a small solar panel and pack on top of the lid. Place the jar where the panel gets at least six hours of direct sun. Expect a softer glow on cloudy days.
2. Mason jar fairy lights centerpiece
Group three jars of different heights down the middle of a table, add a few sprigs of eucalyptus or a fabric runner, and set every strand to the same warm white. Odd numbers look more natural than pairs. For weddings, glass marbles in the bottom add sparkle and weight so the jars do not tip.
3. Firefly jar
Use a strand of firefly-style lights, where tiny LEDs sit on stiff copper stems, and choose a slow twinkle mode. It is the closest thing to fireflies in a mason jar without the bugs. See our guide to firefly string lights for strand options.
4. Hanging lanterns
Wrap a 24-in length of floral wire twice under the jar lip, twist it tight, and form a handle. Hang several from a tree branch or a shepherd hook along a path. For outdoor use, choose strands rated at least IP44, and bring the jars in during heavy rain; most jars are not sealed. Our waterproof fairy lights guide covers ratings.
5. Frosted glow jar
Spray the outside with glass frosting or apply frosted window film. The bulbs disappear and the whole jar glows like a lantern.

6. Seasonal jars
Swap the filler with the seasons: pine cones in winter, faux moss in spring, shells in summer, acorns in autumn.
7. Starlight bottle
Swap the jar for a corked bottle and a strand of star-shaped micro lights for a child's nightlight. Our starlight bottle DIY walks through it with kid-safe details.
How to make a fairy lamp from a jar
A fairy lamp is just a jar that lives on a nightstand permanently. To make one, use the through-the-lid method above and choose a USB-powered strand instead of batteries, so you never have to open it. Run the cable behind the furniture to a USB charger. Pick a warm white around 2,700 K, which feels cozy and easy on the eyes at night. A strand with a remote or an inline dimmer makes it a proper bedside lamp.
Common mistakes and quick fixes
| Problem | Likely cause | Fix |
|---|---|---|
| Clump of light at the bottom | Strand dropped in all at once | Pull it out and feed in loose spirals, turning the jar |
| Dim or flickering | Weak or rechargeable batteries | Fit fresh alkaline cells and check the contacts |
| Wire and bulbs look harsh | No diffusion | Add tissue paper, a coffee filter or frosting |
| Dead after one night | Coin cells or steady mode all night | Use AA packs and the 6-hour timer |
Where to go next
Your first jar takes five minutes; the second one takes two. Next, browse more fairy light decoration ideas, or open the light tools to plan battery life for a whole table of jars before the party.