Learning how to make DIY fairy lights projects is less about electronics and more about placement. A single strand of micro LEDs can look like a tangled afterthought or like a designer installation, and the difference is usually a few clips, a bit of planning and the right wire.
This guide walks through the projects people ask about most: a fairy lights headboard, lights around a mirror, a canopy above the bed and a photo wall. We also cover how to make your own fairy lights covers and shades from paper, cotton balls and other cheap materials, plus the mounting tricks that keep walls damage-free.
How to make DIY fairy lights: start with the right strand
Every project below starts with a strand, so it is worth thirty seconds of thought.
- Copper wire lights are thin, bendable and hold a shape. They are the best choice for wrapping, shaping letters and filling jars. Silver wire is the same idea in a cooler tone.
- PVC-coated strands are thicker and more durable, better for running along headboards and furniture where they will be bumped.
- Power source matters for placement. Battery packs go anywhere but need changing; USB strands run from a charger or power bank; plug-in sets suit long, permanent runs.
- Color: warm white around 2,700–3,000 K feels cozy in living spaces. Cool white reads crisp and modern. Multicolor works for kids' rooms and parties.
Our guide to indoor fairy lights compares plug-in, USB and battery strands room by room, and the silver wire fairy lights guide covers micro LED wire options.
How to make a fairy lights headboard
A fairy lights headboard turns a plain bed into the focal point of the room, and it takes under an hour.
Option 1: Curtain headboard
Hang a sheer white curtain panel on a tension rod or slim curtain rod just above where a headboard would be. Run a curtain-style strand (several vertical drops from one horizontal wire) behind the sheer. The fabric diffuses the bulbs into a soft wall of light. Use a plug-in or USB set with a remote so you can switch it off from bed.
Option 2: Wrapped headboard
If you already have a slatted or metal-frame headboard, weave a copper wire strand through the slats or wrap it around the frame bars in a loose zigzag. Keep about 4–6 in between passes so it reads as sparkle rather than a solid line.
Option 3: Painted-on shape
Draw an arch, a rectangle or a moon shape on the wall with removable painter's tape, then follow the line with small adhesive clips spaced every 8–12 in. Clip the strand in place and remove the tape. The result is a "headboard" made purely of light.
Fairy lights above the bed: canopies and drapes
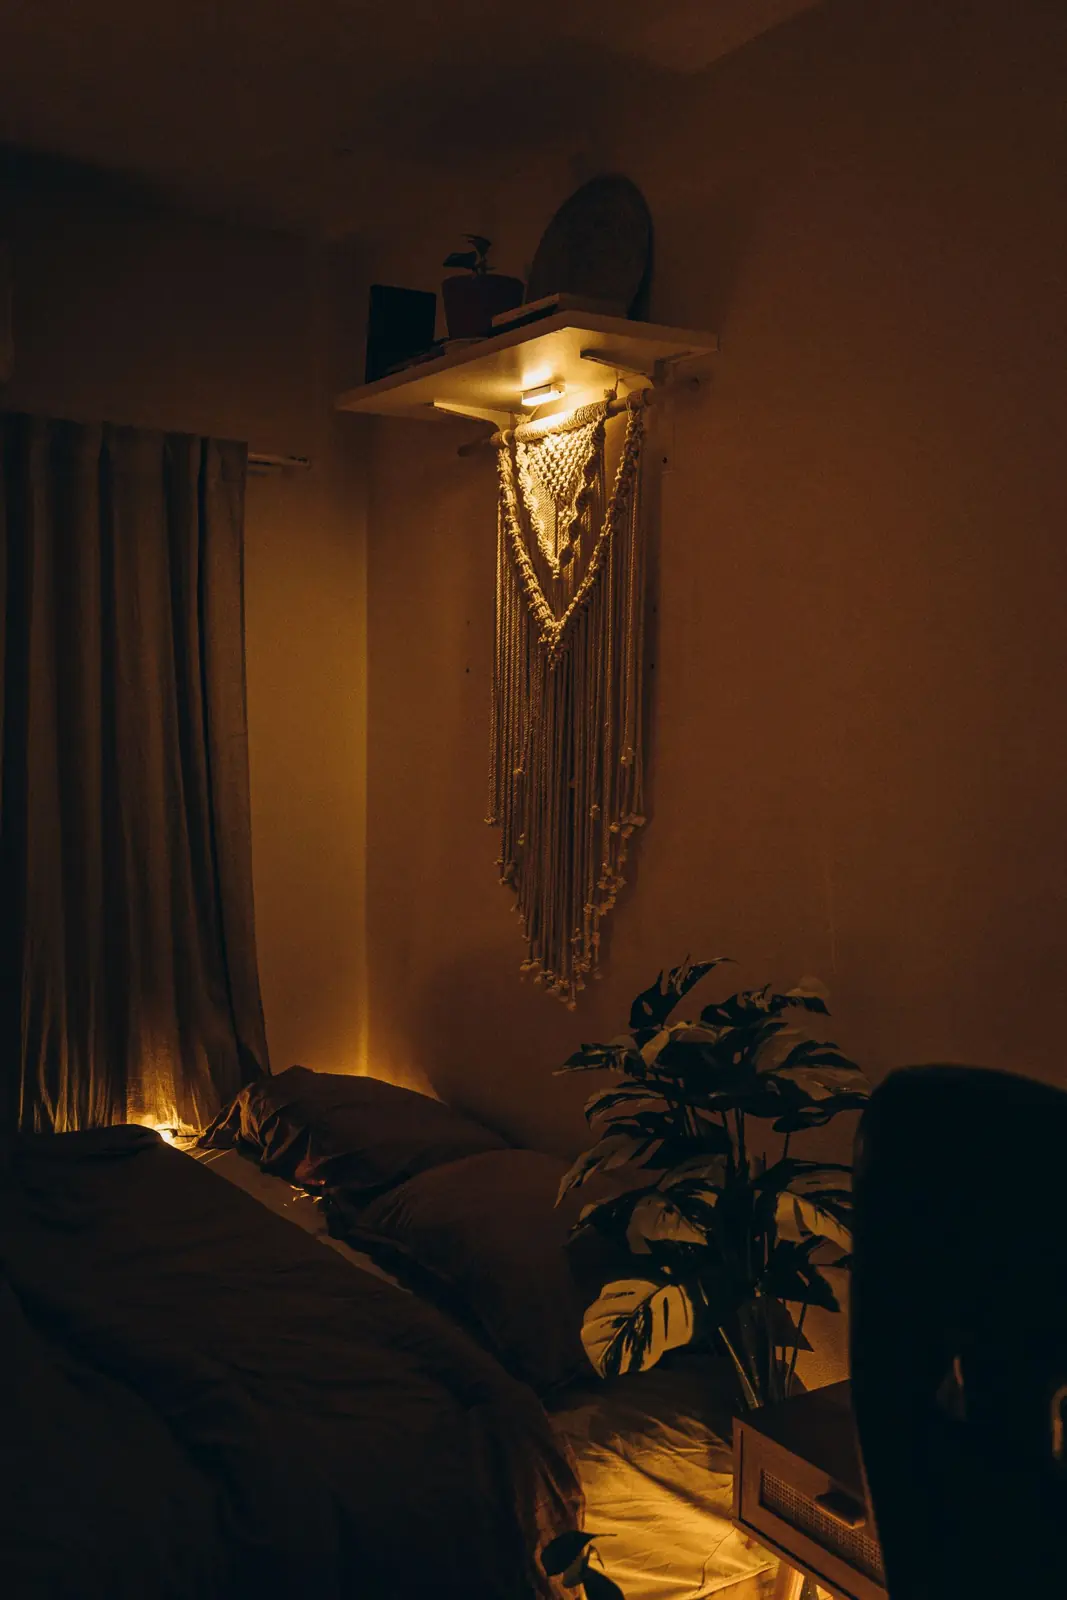
For a canopy, fix two or three small ceiling hooks in a line above the bed, spaced about 2 ft apart. Drape a length of sheer voile over them so it falls on both sides, then thread a strand through the fabric folds. The lights glow through the fabric and the effect is dreamy without any visible wire.
A simpler version: fix one hook centered above the headboard, gather a strand at the hook and let six to eight lengths fan out to the corners of the bed frame, like a tent. Use command-style hooks rated for the weight of the fabric, and keep the strand clear of the pillows.
Fairy lights around a mirror
Lights around a mirror create a vanity glow that is surprisingly flattering. Here is a clean method:
Plan the start point
Start at the bottom corner nearest the outlet or where the battery pack can sit behind the mirror.
Clip, do not glue
Use small clear adhesive clips on the back edge of the frame, spaced every 6 in. Nothing touches the glass, so it stays easy to clean.
Wrap or outline
For a full-length mirror, outline the frame. For a round mirror, wrap the strand around the frame in an even spiral, roughly one turn every 3 in.
Hide the slack
Coil any leftover wire behind the mirror and secure it with a twist tie.
Keep battery packs and adapters away from sinks. In a bathroom, battery or USB strands are the safer choice, and keep everything well away from water.
How to make your own fairy lights covers
Plain strands become something else entirely when you dress each bulb. These are the classic make-your-own options:
- Cotton ball lights: gently stretch a cotton ball, push a bulb into the center and glue the seam. Twenty minutes per strand, and the glow is cloud-soft.
- Paper cup lanterns: cut an X into the base of small paper cups or cupcake liners and push one bulb through each.
- Origami stars: fold paper stars with a small hole at the back and slip a bulb inside.
- Ping-pong balls: cut a small X with a craft knife and insert the bulb. Use a marker to color them.
- Faux greenery: wind a strand through a fake ivy garland for a woodland look.
Only do this with LED bulbs, which stay cool, and never cover the battery pack or adapter. For greenery pairings, see our fake ivy leaves guide.
Decorate a room with fairy lights: photo walls and more
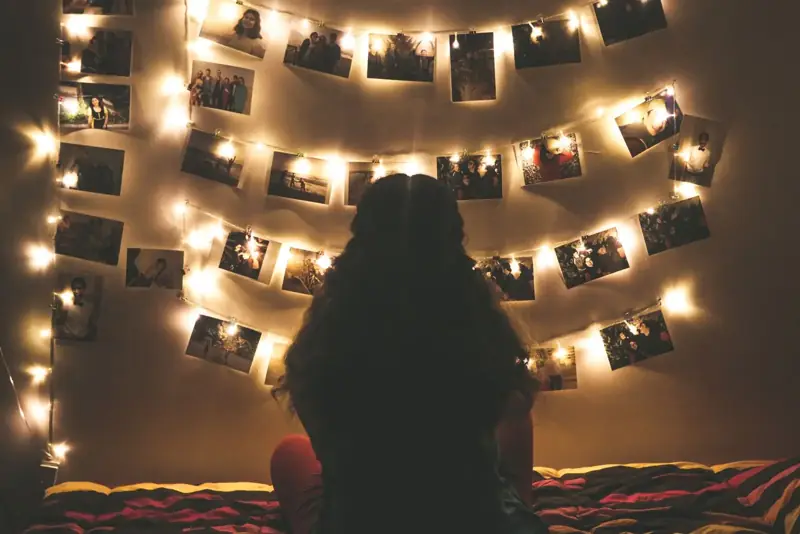
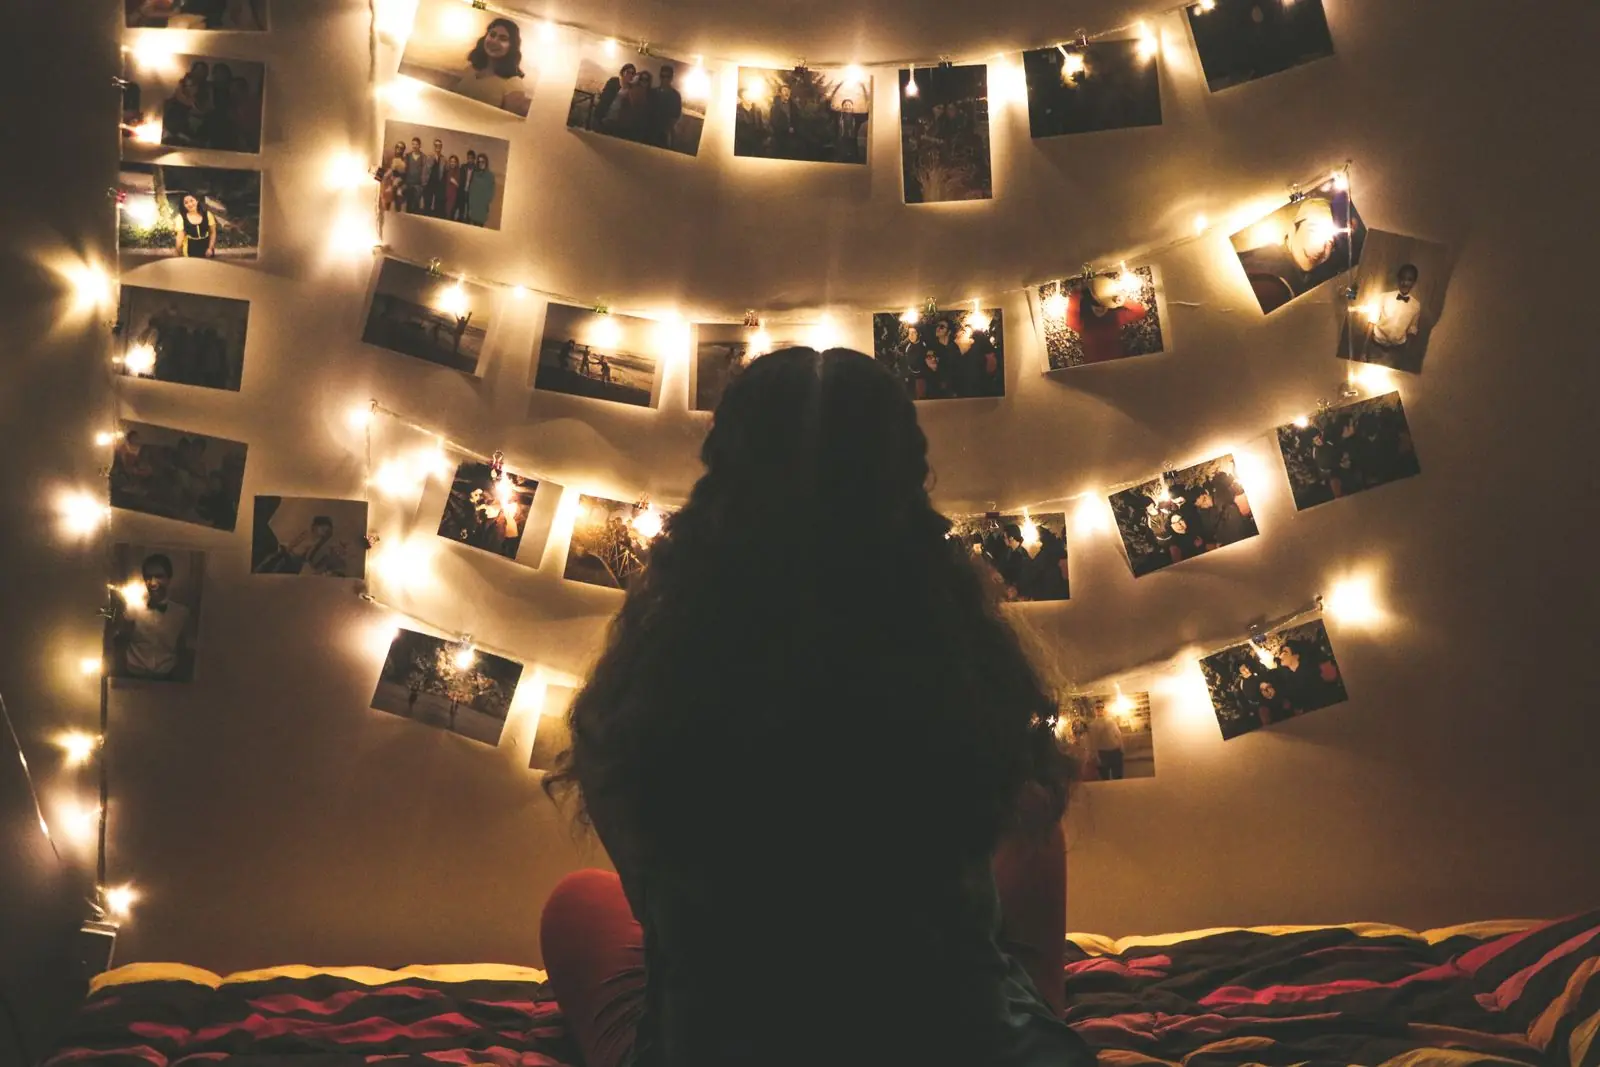
A fairy light photo wall is the most popular way to decorate a room with fairy lights, and for good reason. Run two to four horizontal lines of a strand across a wall, letting each one sag slightly, and clip photos, postcards or notes onto the wire with mini wooden clothespins.
A few more ideas that take under 30 minutes:
- Light letters: bend copper wire lights into a word or initial, following a pencil outline, and hold the shape with clear tacks.
- Shelf glow: tuck a strand behind books on an open shelf so the light spills forward.
- Window frame: outline a window with clips on the inside of the frame.
- Branch display: wrap a strand around a few bare branches in a tall vase.
For a bigger list, our fairy light decoration ideas post has room-by-room options.
Mounting without damaging walls
Renters and careful homeowners, this part is for you. Clear adhesive hooks and clips are the default; press them on firmly for 30 seconds and wait an hour before loading them. On textured walls, mounting putty or small removable hooks work better. For wood trim, tiny clear push pins leave almost invisible holes. Avoid tape directly on paint, which can lift it when removed, and never staple through a strand's wire.
Keep going
Once you know how to make DIY fairy lights look intentional, you will find spots for them everywhere. For a quick win, try our mason jar fairy lights project, or use the color picker in our light tools to find the right warmth for each room.