Most of us buy a strand of fairy lights, drape it over a curtain rod, and call it done. That's fine for a weekend, but there are far more interesting ways to use fairy lights in DIY projects, and most of them take an afternoon and things you already own.
Below are nine projects I come back to again and again. Each one lists what you need, how to build it, and the small details that make it look finished instead of thrown together. They range from a five-minute photo display to a full fairy light wall.
A quick note before you start: almost everything here works best with micro LED lights on thin copper or silver wire. The wire bends, holds a shape, and practically disappears against a wall, which is what gives these projects their "floating light" look.
Before You Start: Choosing the Right Strand
The strand you pick decides how easy the project will be. A few things to check:
- Wire type: copper or silver wire for shaping and wrapping; PVC-coated cable for anything that gets handled a lot.
- Power: battery packs (usually 2–3×AA or 3×AAA) for freestanding pieces; USB for desk and wall projects near a charger.
- Length and spacing: 10–20 ft with LEDs every 4 in or so covers most crafts. Denser spacing reads as a glow; wider spacing reads as dots.
- Color: warm white (around 2,700 K) for cozy rooms, cool white for a crisp, wintry look.
If you're unsure which wire suits you, the silver wire fairy lights guide and the battery operated fairy lights guide walk through the differences.
1–3: Easy Projects for a Single Evening
1. A Clip-On Photo Wall
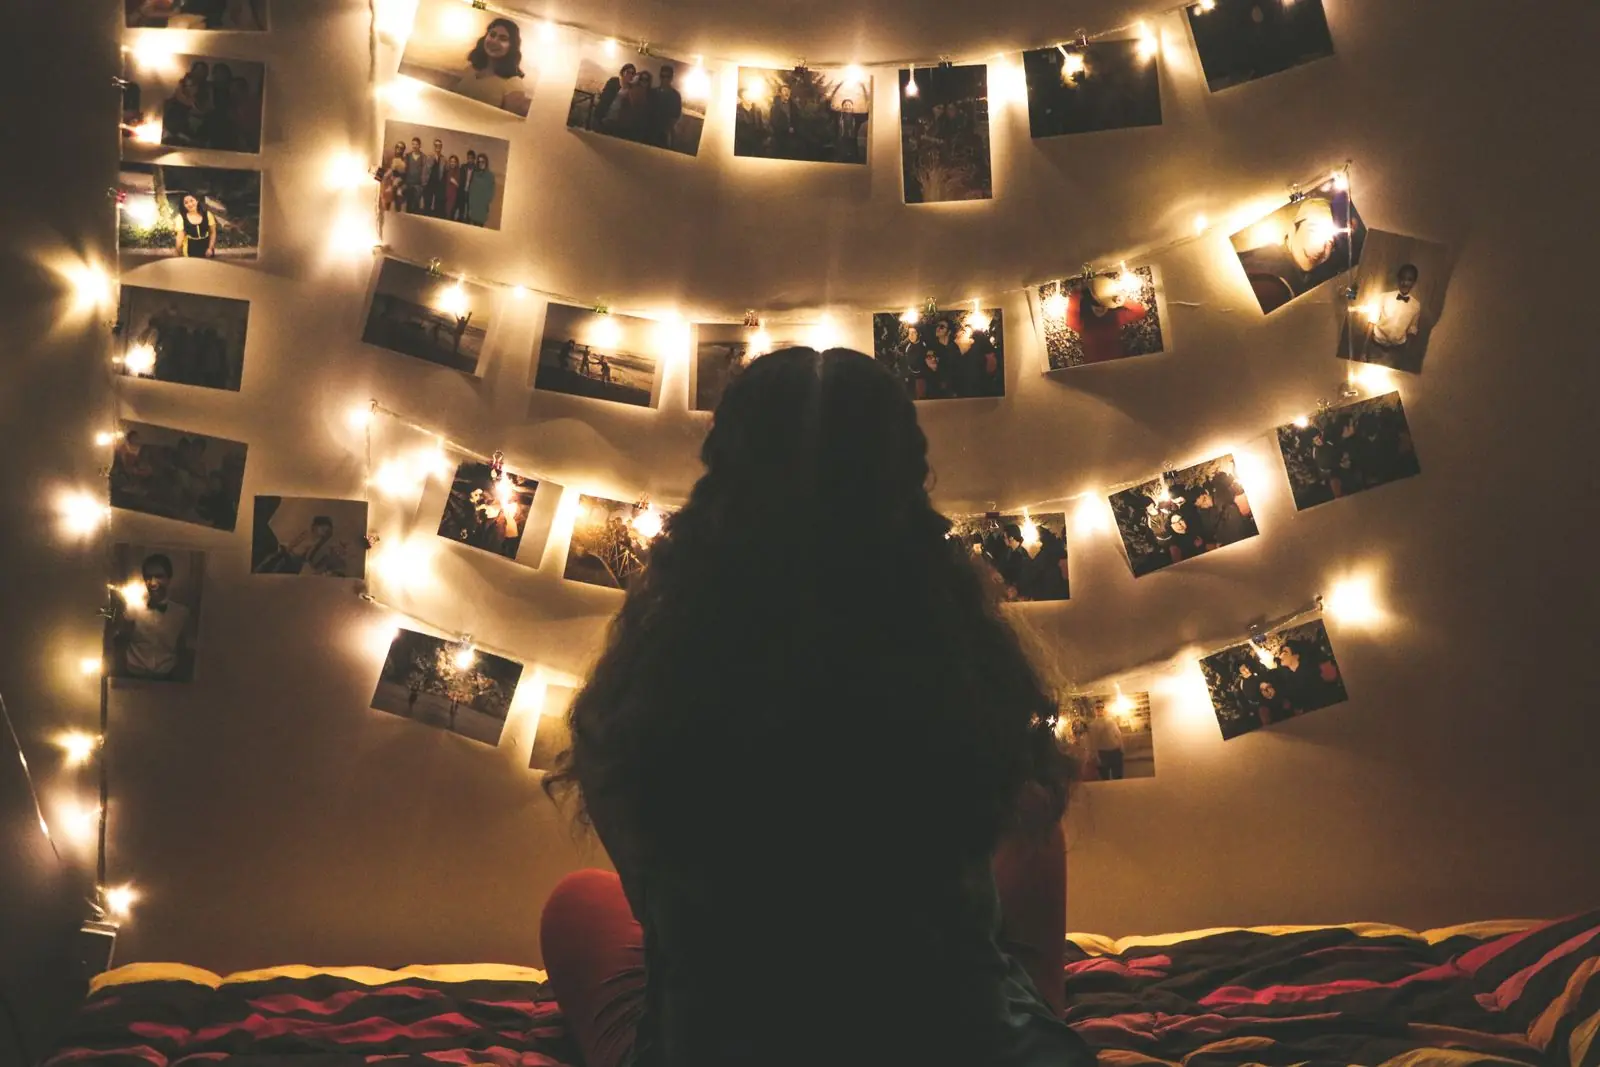
This is the project that gets the most compliments for the least effort. Run a strand across a wall in gentle swags, then clip printed photos, postcards or ticket stubs along it with mini wooden pegs.
Mark your anchor points
Use removable adhesive hooks every 18–24 in. Keep the top line level and let each swag dip 3–4 in.
Hang the strand loosely
Start at the end nearest the outlet or where you'll hide the battery pack. Wrap the wire once around each hook so it doesn't slide.
Clip from the center out
Place your favorite photo in the middle of each swag, then work outward. Leave a little space so the LEDs show between prints.
For a wider display, run three or four parallel lines about 10 in apart.
2. A Glowing Terrarium
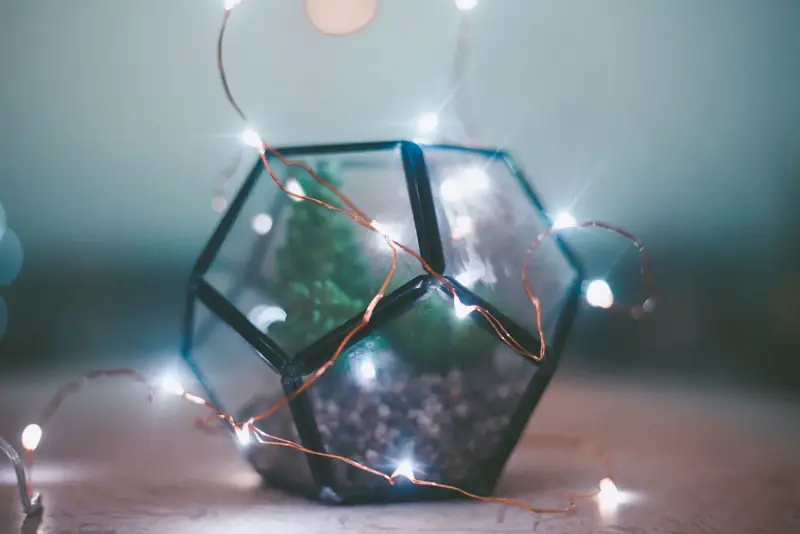
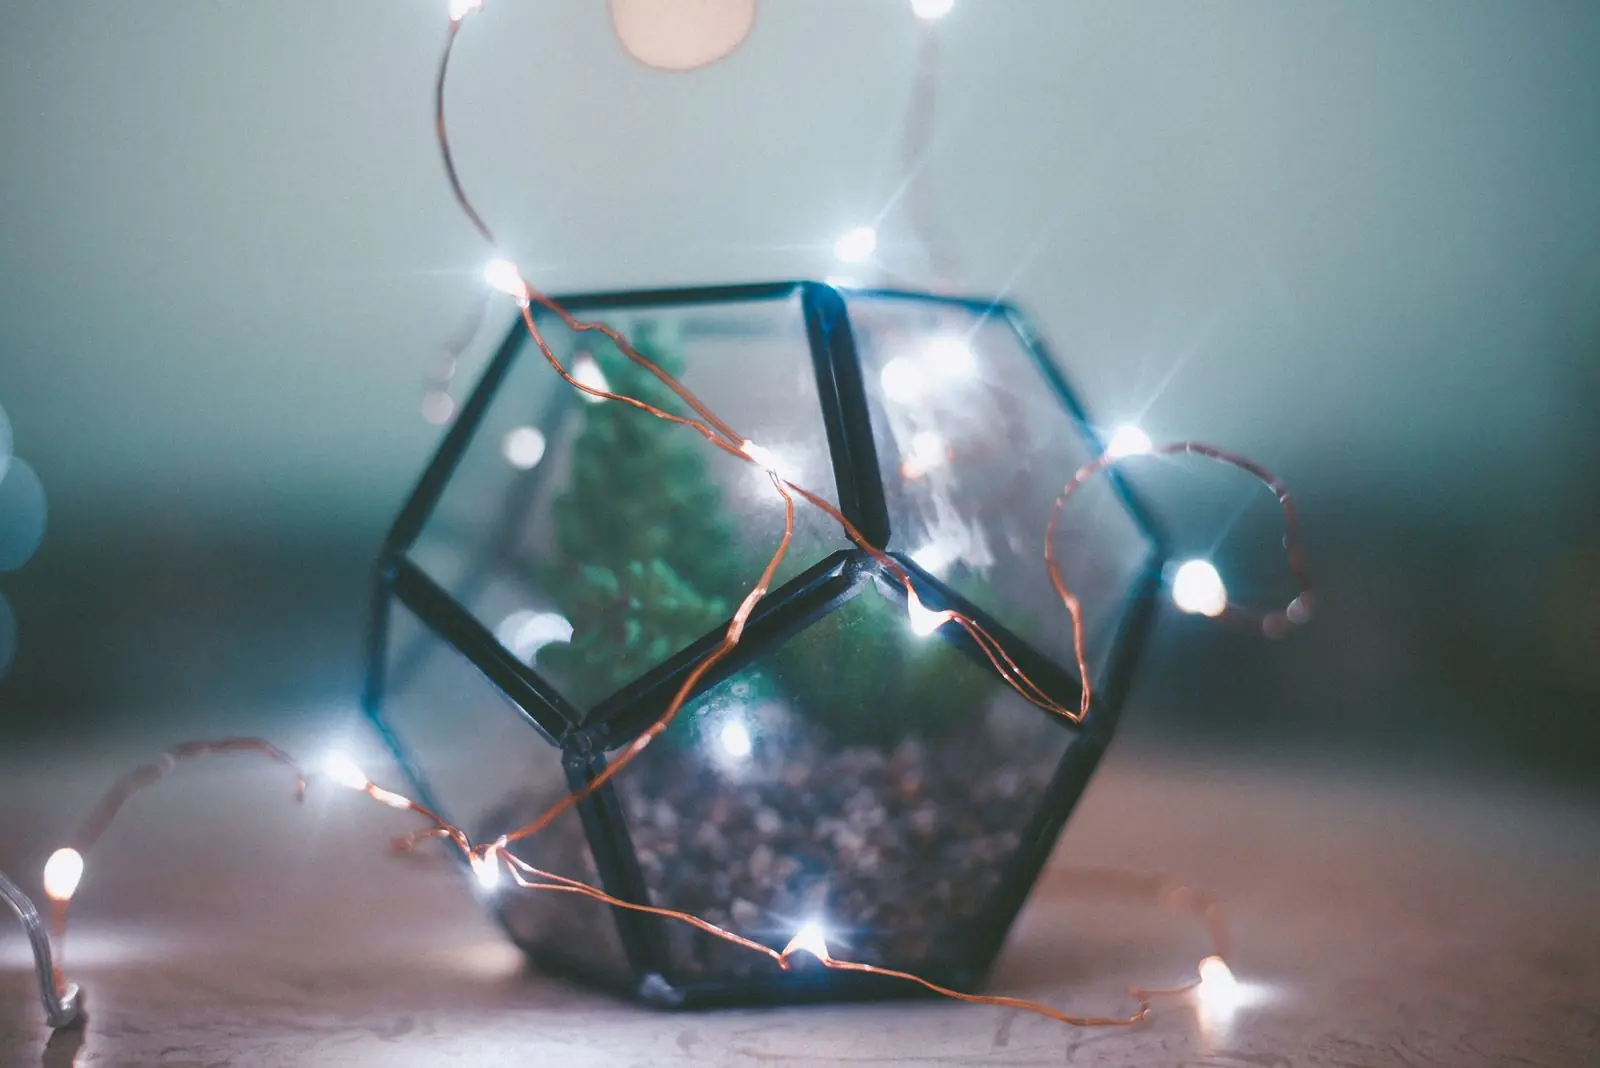
Glass and fairy lights are made for each other. Coil a copper-wire strand loosely inside a geometric terrarium, or wrap it around the outside frame so the light catches every edge. Add moss, pebbles or a few air plants, and tuck the battery pack behind the terrarium or under a layer of moss. Avoid burying the lights in damp soil unless the strand is rated IP67 or higher.
3. A Light-Up Canvas
Paint or print a simple design on a stretched canvas: a night sky, a city skyline, a word. Poke small holes through the canvas with an awl at each point you want to glow, then push one LED through each hole from behind. Tape the wire to the back of the frame and stick the battery pack to the inner stretcher bar with double-sided tape. It's a lovely gift and costs very little.
4–6: Projects That Transform a Room
4. An Ivy and Fairy Light Headboard
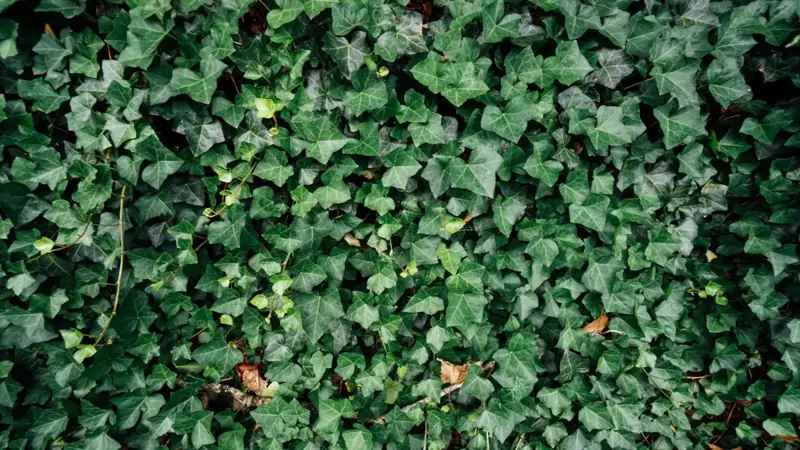
Weave a strand through a few lengths of faux ivy, then hang the result above your bed in a loose arch. The leaves soften the light and hide the wire completely. Use a curtain rod or a row of adhesive hooks above the headboard, and run the power lead down behind the bed frame. The fake ivy leaves guide has tips on picking vines that look real up close.
5. Fairy Lights Around a Mirror
Frame a mirror with a strand, securing it every 6 in with clear adhesive clips. A round mirror looks best with a single tight loop; a rectangular one can take a zigzag or a double row. Use warm white so your reflection stays flattering.
6. A DIY Fairy Light Wall
This is the big one. A full fairy light wall is just several vertical strands hung side by side, like a curtain of light.
Install a top rail
A tension rod, a slim curtain rail or a strip of adhesive hooks across the top of the wall all work.
Drop strands every 6–8 in
Let each strand hang straight down. For a fuller look, use curtain-style lights with many drops on one lead.
Weight the bottoms
Clip a small binder clip or a tiny fishing weight to each tail so the strands hang straight.
Group the power
Plug-in or USB strands are easier here than batteries. Run them to one power strip hidden behind furniture.
7–9: Gifts, Tables and Outdoor Ideas
7. Lights in a Jar or Bottle
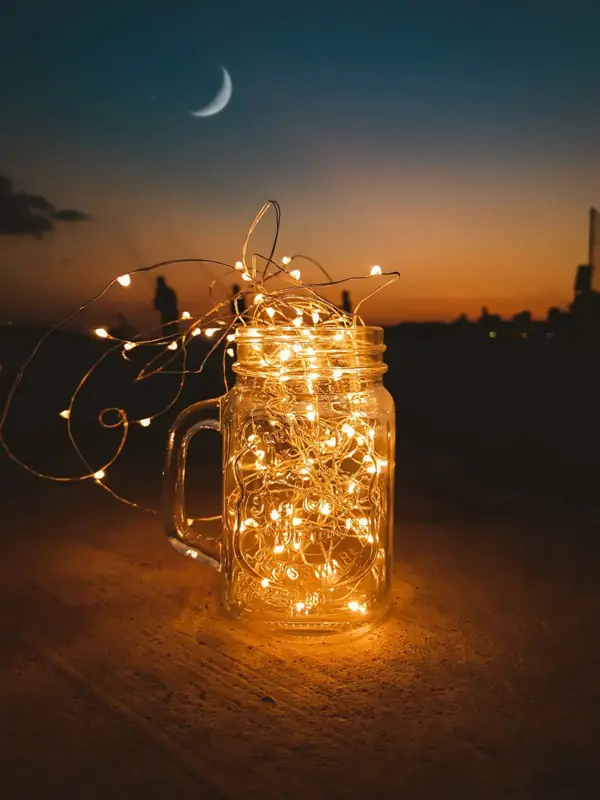
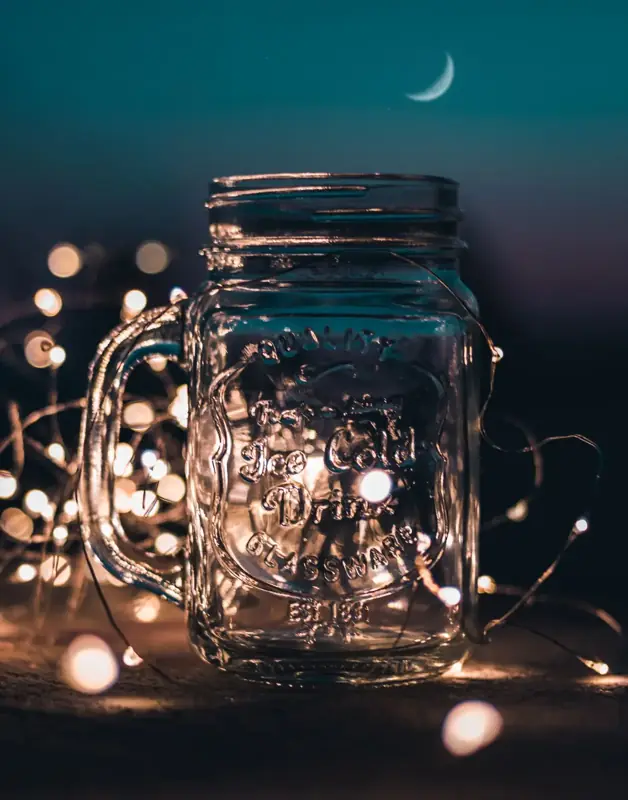
Fill a clear jar or wine bottle with a strand, hide the battery pack in the lid or under the base, and you have an instant lamp. We have a full walkthrough in mason jar fairy lights in 5 minutes, and a child-friendly version in the starlight bottle DIY.
8. A Lit Table Runner
Lay a strand down the middle of a dinner table, then cover it with a sheer runner, eucalyptus sprigs or a line of loose greenery. The light glows through without being glaring. Battery strands with a timer are ideal so nobody has to trip over a cable.
9. A Branch Light Sculpture
Collect a few interesting dry branches, stand them in a tall vase weighted with stones or sand, and wrap a copper-wire strand along each limb. It looks great in a corner, on a mantel, or on a covered porch. If it lives outdoors, choose a strand rated at least IP65 and keep the battery pack sheltered.
Hiding Wires and Battery Packs
The difference between a project that looks homemade and one that looks designed is usually the battery pack. A few tricks:
- Stick the pack to the back of a frame or the underside of a shelf with removable mounting tape.
- Tuck it into a small fabric pouch the same color as the wall.
- Wrap the lead wire in floral tape or twine where it runs through greenery.
- Choose a strand with a remote or timer so you never have to reach the switch.
Wrap-Up: Pick One and Start Tonight
The beauty of fairy lights is how forgiving they are. Start with the photo wall or the jar, then work up to a full fairy light wall once you've got a feel for hanging and hiding wire. When you're ready to plan battery life for a project that will run every night, try the calculators on our light tools page, and browse more ideas in fairy light decoration ideas.