The best strip lights for DIY projects are not the brightest or the cheapest; they are the ones matched to the job. A strip that looks perfect behind a TV can look spotty under a glass shelf, and one that works fine in a bedroom will fail within a season on a deck.
This guide breaks down the specs that actually matter: LED density, voltage, chip type, color options and IP ratings. By the end you will know exactly what to look for on a spec sheet, and how to size the power supply so the far end of the strip is as bright as the start.
Best strip lights for DIY projects start with the project
Before comparing specs, answer three questions:
- Will you see the strip directly, or only its reflection? Direct-view jobs like shelf edges and display cases need a dense strip or a diffuser channel. Indirect jobs like cove ceilings and behind-TV glow are forgiving.
- How long is the run? Under about 16 ft (5 m), almost anything works. Longer runs push you toward 24 V and extra power feeds.
- Where will it live? Dry indoor spaces, kitchens and bathrooms, and outdoors all need different protection.
LED density and chip type: COB vs SMD
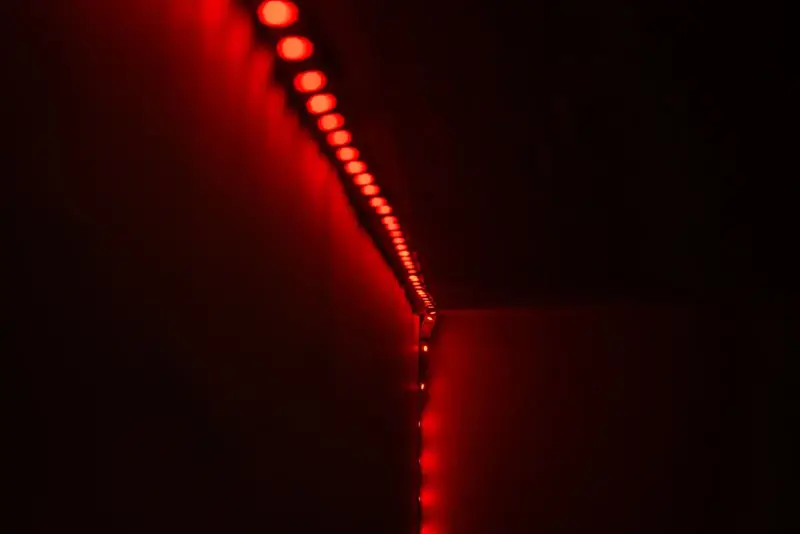
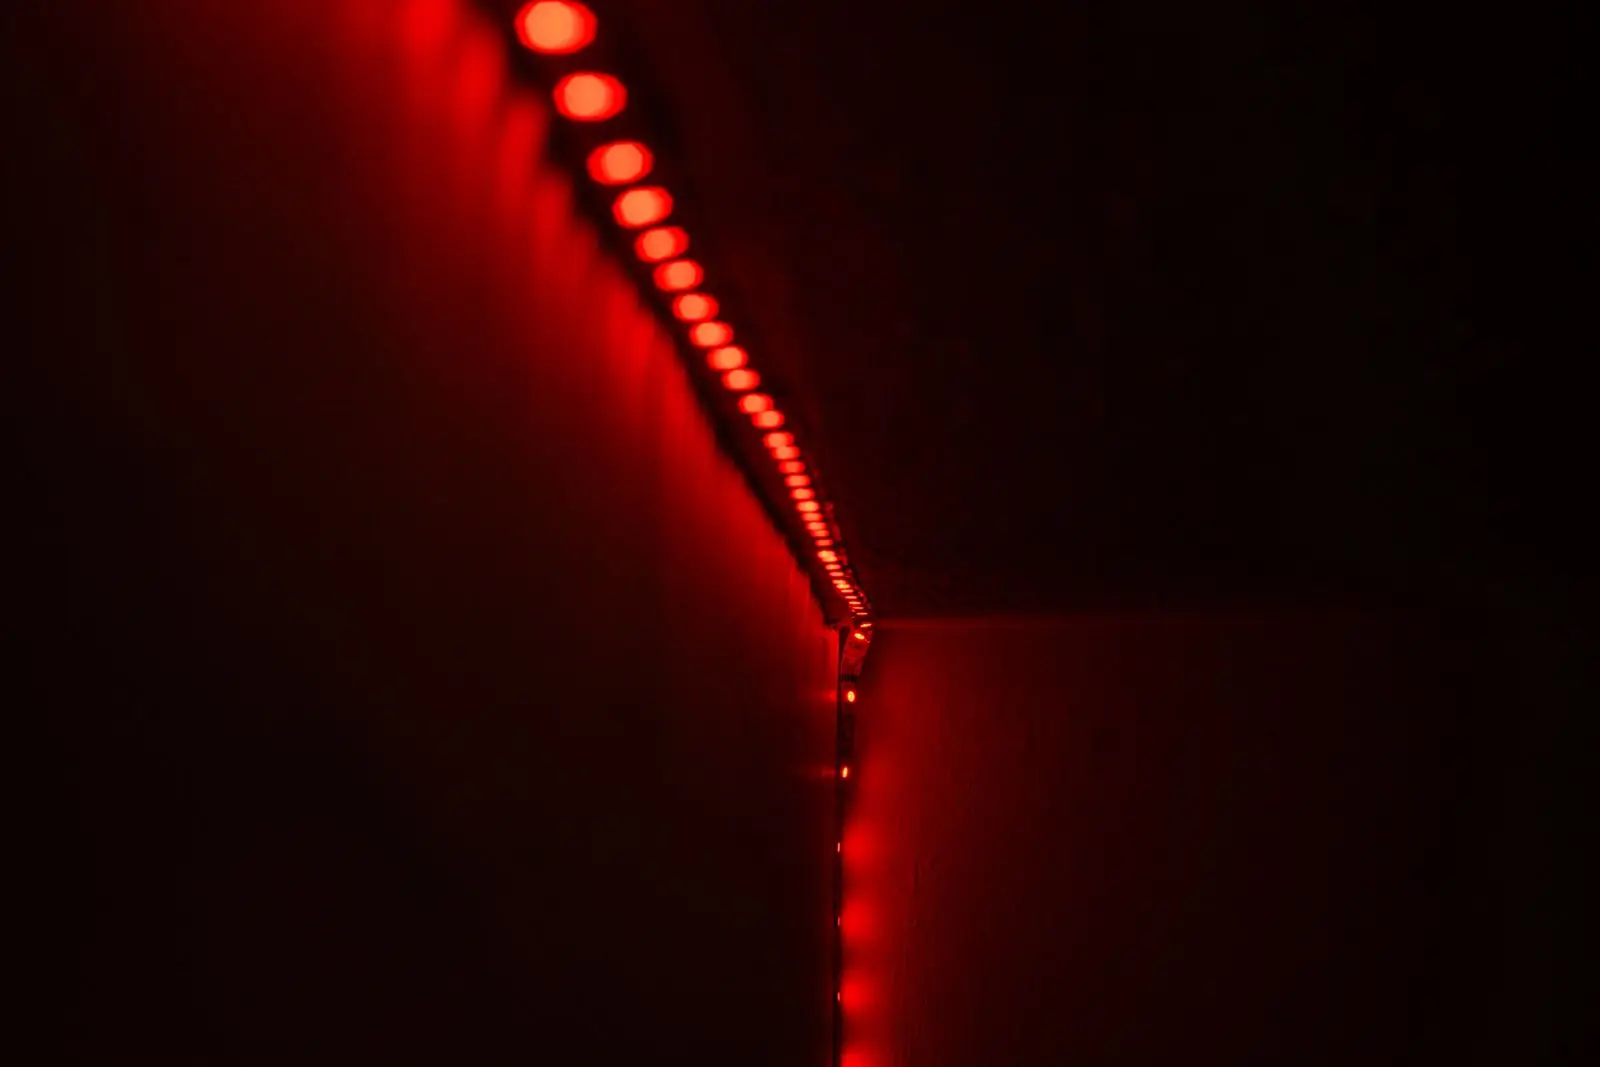
LED density is the number of LEDs per meter (or per foot). It controls how smooth the line of light looks.
| Type | Typical density | Look | Best for |
|---|---|---|---|
| SMD, low density | 30 LEDs/m | Visible dots | Indirect accent, budget runs |
| SMD, standard | 60 LEDs/m | Dots soften at a distance | Behind TVs, under beds, coves |
| SMD, high density | 120–240 LEDs/m | Near-continuous | Under cabinets, shelves |
| COB | 300–500+ chips/m | Seamless line, no dots | Direct view, display cases |
SMD (surface-mounted device) strips use individual LED packages, often labeled by size such as 2835 or 5050. 5050 chips are larger and common on RGB strips; 2835 chips are efficient and common on white strips.
COB (chip on board) strips pack tiny chips so closely under a phosphor coating that they look like one continuous line. They are the easiest way to get a dot-free glow without an aluminum channel. The trade-offs are that COB strips are often single color or tunable white, and they can run warmer, so mount them on aluminum for long runs.
12V vs 24V (and 5V) strip lights
LED strips are commonly sold in 5 V, 12 V and 24 V versions. Voltage affects how far you can run the strip before it dims.
- 5 V: USB-powered strips and many addressable pixel strips. Great for short runs behind a monitor, but voltage drop shows up quickly, often after just a few feet.
- 12 V: the most common DIY choice. Works well up to about 16 ft (5 m) from a single feed. Cuts every 1–2 in on most strips.
- 24 V: half the current for the same power, so less voltage drop. Can usually run around 32 ft (10 m) from one end with even brightness. Cut points are spaced a little farther apart.
For anything longer than one reel, choose 24 V or plan to inject power at both ends (or every 16 ft). Always match the strip voltage to the power supply exactly; a 12 V strip on a 24 V supply will burn out quickly.
Color options: single, tunable, RGB, RGBW and addressable
- Single color white is the brightest per watt and the most natural for task lighting. Look for the color temperature in kelvin: 2,700–3,000 K warm, 4,000 K neutral, 5,000–6,500 K cool.
- Tunable white (CCT) lets you slide from warm to cool.
- RGB mixes red, green and blue. Fine for color, but its "white" often looks bluish.
- RGBW or RGBCCT add a dedicated white chip for a clean white plus color. The best all-rounder for living spaces.
- Addressable (pixel) strips let every LED or segment show a different color, for chases and rainbow effects. They need a compatible controller.
A good controller makes any strip more useful. Our wifi LED controller guide covers app, remote and voice options, and the smart LED strip lights guide covers ready-made smart kits.
IP ratings for DIY waterproof LED lights
The IP (ingress protection) rating tells you how well the strip resists dust and water. The second digit is the one to watch for moisture.
| Rating | Construction | Use it for |
|---|---|---|
| IP20 | Bare strip, no coating | Dry indoor spaces only |
| IP54 | Thin silicone or epoxy coating | Dusty areas, light splashes |
| IP65 | Silicone-coated, splash-proof | Kitchens, bathrooms away from the shower, covered porches |
| IP67 | Fully sleeved or encapsulated | Outdoors, exposed to rain, temporary immersion |
| IP68 | Solid encapsulation, submersible | Fountains, ponds, permanent wet locations |
Two things trip people up with DIY waterproof LED lights. First, the strip is only as waterproof as its weakest joint: every cut end and connector needs sealing with silicone end caps or heat-shrink with adhesive lining. Second, the power supply is usually not waterproof, so keep it indoors or in a weatherproof box. For outdoor strands rather than strips, see our waterproof fairy lights guide.
Size the power supply correctly
Strip power is listed in watts per meter or per foot. Multiply by the length, then add a 20 percent safety margin so the supply does not run flat out. For example, a strip drawing roughly 14 W per meter over 5 m needs about 70 W, so choose a supply of at least 84 W, which in practice means a 100 W unit.
Rather than doing the math by hand, plug in your strip voltage, wattage and length in the calculator below to get the power supply size and see when you need a second feed point.
LED strip length and power supply calculator
Size the power supply, find the cut interval and see whether a long run needs power injection.
Each block in the preview is one powered section. Always check the watts-per-meter on your strip's label; it varies by brand.
When you get to cutting and joining, follow our step-by-step on how to cut and connect LED strip lights.
Quick picks by project
- Behind the TV or monitor: 5 V USB or 12 V, 60 LEDs/m, RGBW
- Under kitchen cabinets: 24 V COB or high-density SMD in an aluminum channel, 3,000–4,000 K, IP65 near the sink
- Bedroom ceiling cove: 24 V RGBCCT, 60–120 LEDs/m, controller with dimming
- Under the bed or sofa: 12 V, 60 LEDs/m, optional motion sensor (see our LED lights under couch guide)
- Deck steps and railings: 24 V, IP67, warm white, supply in a weatherproof box
- Display shelves: COB, neutral 4,000 K for true colors
Next steps
Pick the strip type from your project, then confirm the power supply with the calculator before you buy. If you want voice or app control, our how to connect Alexa to LED lights post walks through setup, and the light tools hub has more planners.